Before anyone can pay for an offer, your workspace needs a connected Stripe account. Stripe takes the payment and pays the money out to your bank. You connect it once on Payment setup, then come back only to check its status or to open your Stripe dashboard. Until it's connected you can still give away free offers.
Before you connect
- Where you can sell from: Zinstruct supports creators based in the United States, Canada, the United Kingdom, Australia and the euro area, wherever Stripe Express is available. Stripe asks for your country during sign-up.
- Currency: prices on Zinstruct are in US dollars.
- A new Stripe account: connecting always creates a new Stripe account for this workspace, even if you already have one elsewhere. You can't link an existing Stripe account, or switch this workspace to a different one later. If you need to, contact Zinstruct support.
- Fees: the platform fee for your plan (a percentage plus 30¢) comes off each sale, and Stripe's card-processing fee is included in it. See Fees on your sales in Plans and billing.
Who can do this
- Only the workspace owner can connect Stripe, finish onboarding, refresh the status or open the Stripe dashboard. No paid plan is needed: you can connect during your free trial.
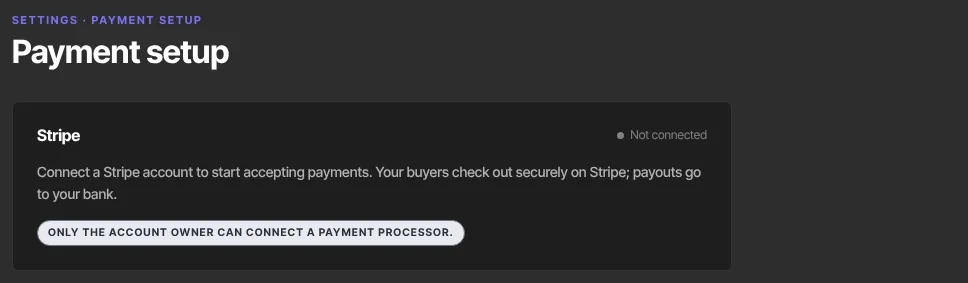
- Admins, staff and viewers can open Payment setup and see the status. Instead of buttons, they see "Only the account owner can connect a payment processor."
Connect your Stripe account
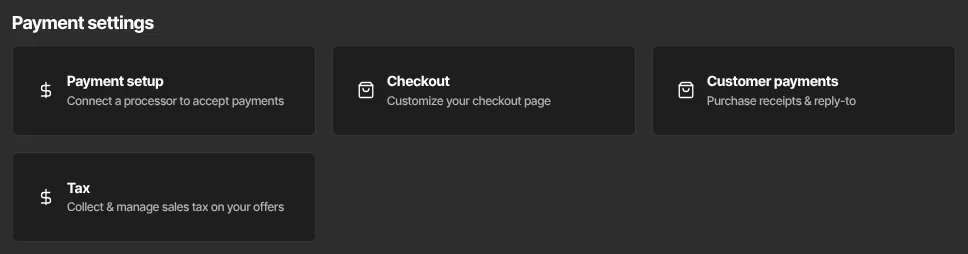
- Click Settings in the sidebar. Under Payment settings, click Payment setup (
/settings/payment-setup).
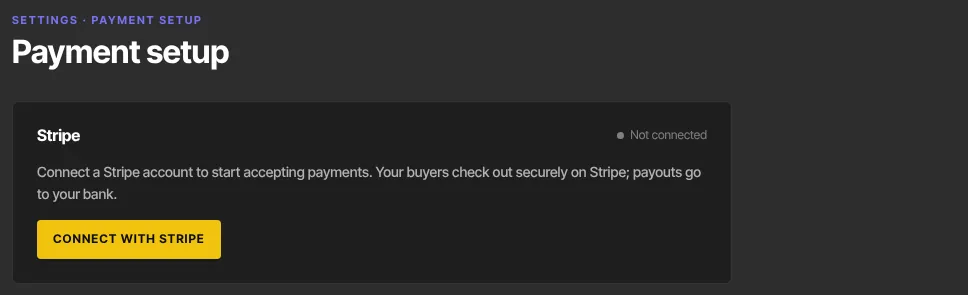
- The Stripe panel shows Not connected. Click Connect with Stripe.
- You go to Stripe's secure sign-up. Give Stripe what it asks for, such as your identity and the bank account for payouts. Zinstruct never sees your bank details.
- When you finish, Stripe sends you back to Payment setup.
- Click Refresh status. The page doesn't update itself when you come back, and this button asks Stripe for your latest status.
- When the badge reads Active — ready to sell, with Charges: enabled and Payouts: enabled, your paid checkouts are live.
What each status means
- Not connected: there's no Stripe account yet. Paid checkouts can't start. Free offers still work.
- Onboarding incomplete: you started, but Stripe is still missing details. Charges are off.
- Action needed: you've sent Stripe your details, but charges aren't on. Straight after onboarding, this usually means Stripe is still checking them. It also appears if Stripe turns charges off later and asks for more, such as a verification document. Buyers can't pay until it changes.
- Active — ready to sell: Stripe accepts payments for you.
Once you have a Stripe account, the panel also shows Charges and Payouts as enabled or off.
Finish onboarding or clear "Action needed"
- On Payment setup, click Finish Stripe onboarding. You return to Stripe with the account you already started.
- Give Stripe whatever it lists as missing, then come back.
- Click Refresh status. If it still says Action needed, Stripe may still be reviewing. Wait a few minutes and click Refresh status again.
Manage payouts in your Stripe dashboard
- When the status is Active — ready to sell, click Open Stripe dashboard on Payment setup.
- You're signed straight in to your Stripe dashboard. There you see your balance and payouts, change your bank account and set your payout schedule.
What happens next
- Buyers pay on a secure Stripe checkout page. Zinstruct's platform fee for your plan is taken from each sale automatically, and the rest goes to your Stripe account. See Plans and billing.
- Stripe pays your balance out to your bank on your payout schedule.
- Every sale appears in Revenue → Transactions. See Transactions, refunds and chargebacks.
- If Stripe turns charges off later, paid checkouts stop until you fix it, and Zinstruct doesn't email you about it. If buyers say they can't pay, check Payment setup first.
Common errors
- "Only the account owner can connect a payment processor.": you're an admin, staff member or viewer. Ask the workspace owner.
- "Only the account owner can manage payments.": you aren't the owner. If you are the owner, your free trial has ended and the workspace is read-only. Subscribe in Settings → Billing, then try again.
- "Could not start Stripe onboarding. Try again.": Stripe didn't respond. Try again in a moment.
- "Could not open the Stripe dashboard." or "No connected account yet.": try again. If you never connected, click Connect with Stripe first.
- Refresh status changes nothing: Stripe hasn't finished, or the refresh didn't reach Stripe. The page doesn't say which, so wait a few minutes and click it again.
- Buyers see "This creator isn’t set up to accept payments yet. Please check back soon.": your status isn't Active — ready to sell. Open Payment setup to see why.