Wherever the app asks for a picture, such as a blog post's image, your site's logo, your community's logo and banner, or an image in the page builder, you get the same image field. It lets you upload a new picture, reuse one you've already uploaded, or paste a link to an image hosted somewhere else.
Who can do this
- Owners, admins and staff can upload images.
- Viewers can open Choose from library, but Upload image shows "Not allowed".
- There's no plan requirement.
Upload an image
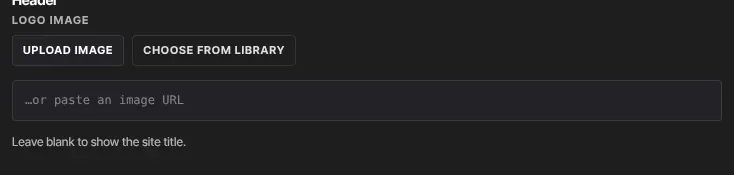
- In the image field, click Upload image. If the field already has a picture, the button reads Replace image.
- Choose a JPG, PNG, WebP or GIF file of 10 MB or less.
- The button reads Uploading… for a moment. Then the box under the buttons fills in with the image's web address, and most fields show a preview.
- Save the page or form as you normally would. The new image is used once you save.
Reuse an image you've already uploaded
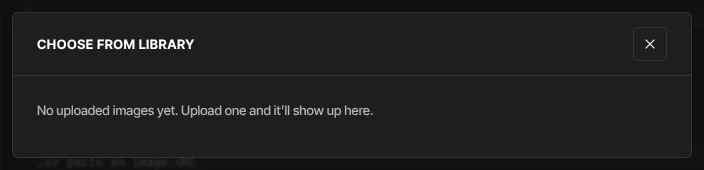
- In the image field, click Choose from library. A window titled Choose from library opens.
- Click the picture you want. The window closes and the field uses that image.
- Save the page or form.
The window shows your 60 most recent images uploaded through image fields and thumbnail uploads. Images added with Upload file on the Media Library page, module images and lesson files aren't in it.
Paste a link instead
- Click into the box under the buttons. It reads …or paste an image URL when it's empty.
- Paste the image's address, then save the page or form.
The image keeps loading from where it's hosted; nothing is copied into your workspace.
Remove an image
- Click Remove next to the buttons.
- Save the page or form.
This only clears the field. The image stays in Choose from library and in the Media Library.
Where you'll find image fields
- Website → Site Details (
/website/site-details): Logo image, under Header. - Website → Blog, inside a post: Image (rec. 1280×720) in the Blog image panel.
- A community's Branding — this community section: Community logo (top of the sidebar) and Feed banner image.
- The page builder: the image setting on blocks that show a picture.
What happens next
- Your image gets a permanent public web address. Anyone with the address can open it, so don't upload anything private as an image.
- It's listed in the Media Library under Files, and its Usage counts each page, post, email or branding setting that shows it. See Check where media is used, and delete it.
- Deleting it from the Media Library takes it offline, so it can only be deleted once nothing shows it.
Common errors
- "Use a JPG, PNG, WebP, or GIF image.": the file is another type, such as SVG, HEIC or PDF. Export it as one of those four.
- "Image must be 10 MB or smaller.": make the image smaller, or save it as a compressed JPG or WebP.
- "Request validation failed": the file looked like an image but isn't really a JPG, PNG, WebP or GIF (a renamed file, for example), or it turned out to be over 10 MB. Export it again from an image editor and upload the new file.
- "Upload failed — please try again.": the image didn't finish sending. Check your connection and try again.
- "Not allowed": you're signed in as a viewer. Ask an owner or admin to add the image, or to change your role.
- "Something went wrong": your free trial may have ended (subscribe in Settings → Billing), or it was a temporary problem. Try again.
- "No uploaded images yet. Upload one and it’ll show up here.": you haven't uploaded an image through an image field yet. Files added with Upload file on the Media Library page don't appear here.